Every space we find ourselves in provokes an emotional and analytical response – whether we’re aware of it or not.
They key to photographing your interior is to become consciously aware of what you’re feeling, and then convey that in your image as best you can.
1. Pick Your Time of Day
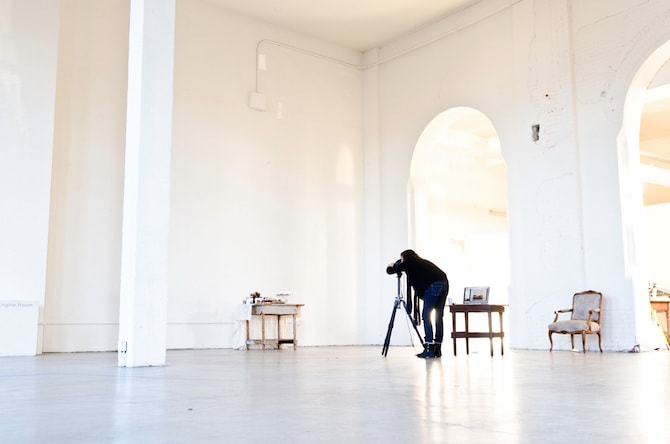
If you’ve been around photographers before, you may have heard of this mystical time of day that they refer to as the “golden hour”.
If you haven’t, the golden hour is a period shortly after sunrise or before sunset, in which daylight becomes softer and redder.
In areas greatly exposed to natural light, golden hour is something to definitely look out for. Your backgrounds will often contain a much warmer feeling to them, and this added colour will really set your images apart.
If you’re shooting inside, then light is your friend. The more light you let into your images, the crisper your furniture will appear and, in addition, you’ll be able to do a lot more when editing them later. So open those windows and turn on those lights.
Just remember, daylight is blue (halogen), and odds are that your lighting fixtures emit orange light (tungsten). In large doses, these two light sources don’t tend to play too well together; often leaving some unsightly colour casts over your image.
To get around this, just stick to one light type and you’ll have a much more even-looking image.
2. Use wide lenses
Some spaces can tend to be a little ‘cosy’. When taking photos, smaller spaces might hinder your ability to capture exactly what you want, so your images may end up a little narrowly framed.
For those using a DSLR camera, there’s an easy fix for this: A wide focal length lens. Attaching one of these to your camera will give you much more panoramic view, making it easier to get up close while still retaining an expansive frame.
For those of you using your trusty smartphones, you may have to do a little wall hugging to get the frame you want. Or simpler yet, rethink your position.
3. Adjust your angle
Take some time to think about your angle. This is especially important when it comes to photographing architecture and material design, as things like furniture, plants and fixtures will have already been carefully considered in terms of where they sit in relation to one another.
With this is mind, choose your height and the direction of your camera with respect to what you’re shooting. For flat-faced surfaces, you’ll want to communicate a sense of balance, order and tranquillity.
To do this, having a tripod would be a life saver, but if not, you’ll want to crouch down near mid-way to give the objects in your image a lot more presence.
Then, be sure to position both you and your camera on a linear angle, whether it’s right in front, on a 45- degree diagonal, on a 90-degree side, or even directly above. These angles will compliment the straight edges of the image.
Adversely, if the furniture or fittings are curved and asymmetrical, you’ll need to find a more obscure angle that best highlights its beauty.
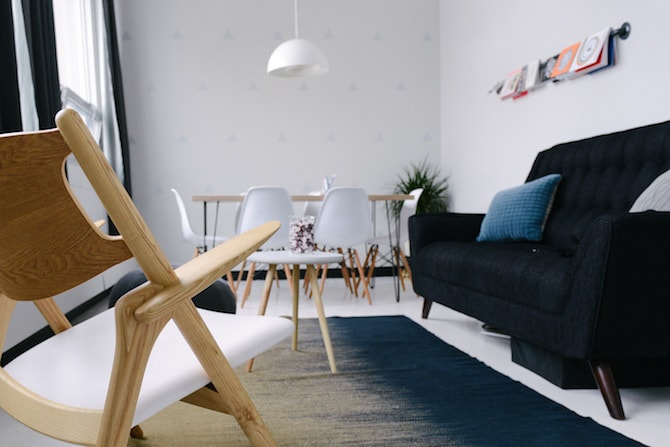
4. Understand the elements of design
When choosing how to frame your shot, you’ll want to consider the visual design elements that govern the space.
- Line
- Colour
- Form and shape
- Space
- Texture
- Value
There will always be a combination of these elements working together at any given point within material design. The skill lies in being able to identify what elements are present in a particular space, and how to best capture them on a camera.
One such element that will play a major role in all design photography is line. Line is responsible for vertical, horizontal, diagonal and curved edges and will heavily dictate what we draw our attention to.
Aligning your shots and your camera movement with the lines of the architecture, furniture or fittings is a great way to achieve a sense of balance and ‘oneness’ with the structure.
You’ll find that if you shoot parallel to these edges or intersect with them, your shots will retain an interesting sense of geometry that complements the design.
The key is to identify what elements you want to emphasise. Whether it’s the colour palette across the room, the use of negative space between objects, the varying surface textures, or the changing light values, make sure that you pick a maximum of three to ensure that you’re not over analysing every single shot.
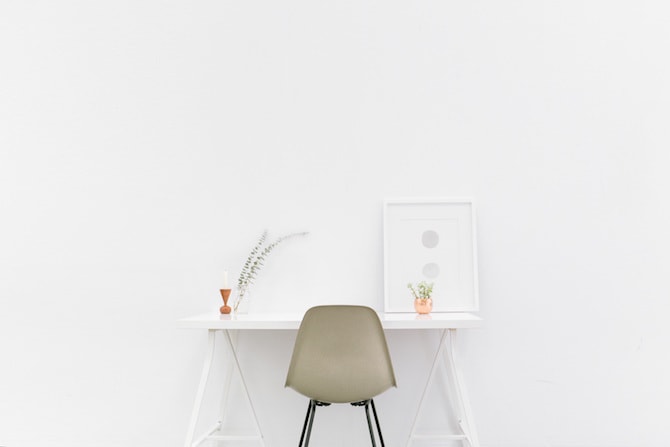
5. Consider the design intent
Similarly, it’s also important to keep in mind the purpose of the design. Is it designed for work? Relaxation? Or is it purely decorative? Coming to understand the intent that drives the design will greatly impact how you position yourself in the space and how you decide to take your photo.
For example, if a space is designed for cosy leisure, then you’ll want to position yourself so that the objects in your image take up most of the frame. But if the space is designed for as minimalist retreat, then you’ll want to highlight the amount of empty space present within the room.
When photographing an interior design, the key is to switch on your analytical thinking and be honest with how you feel within the space.
Try taking different approaches. Lower your angles, Brighten your rooms. Consider spicing up your frame with added colour and new elements.
For inspiration on where to start, browse through our photography collection to discover more.
Author: Evan Pirone from Lunamik.